
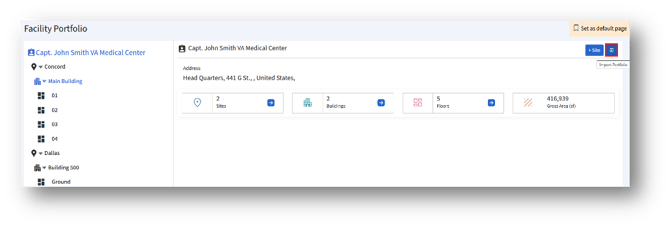
1. Click the “Import Portfolio” button to navigate to the “Import Data” page as shown below.
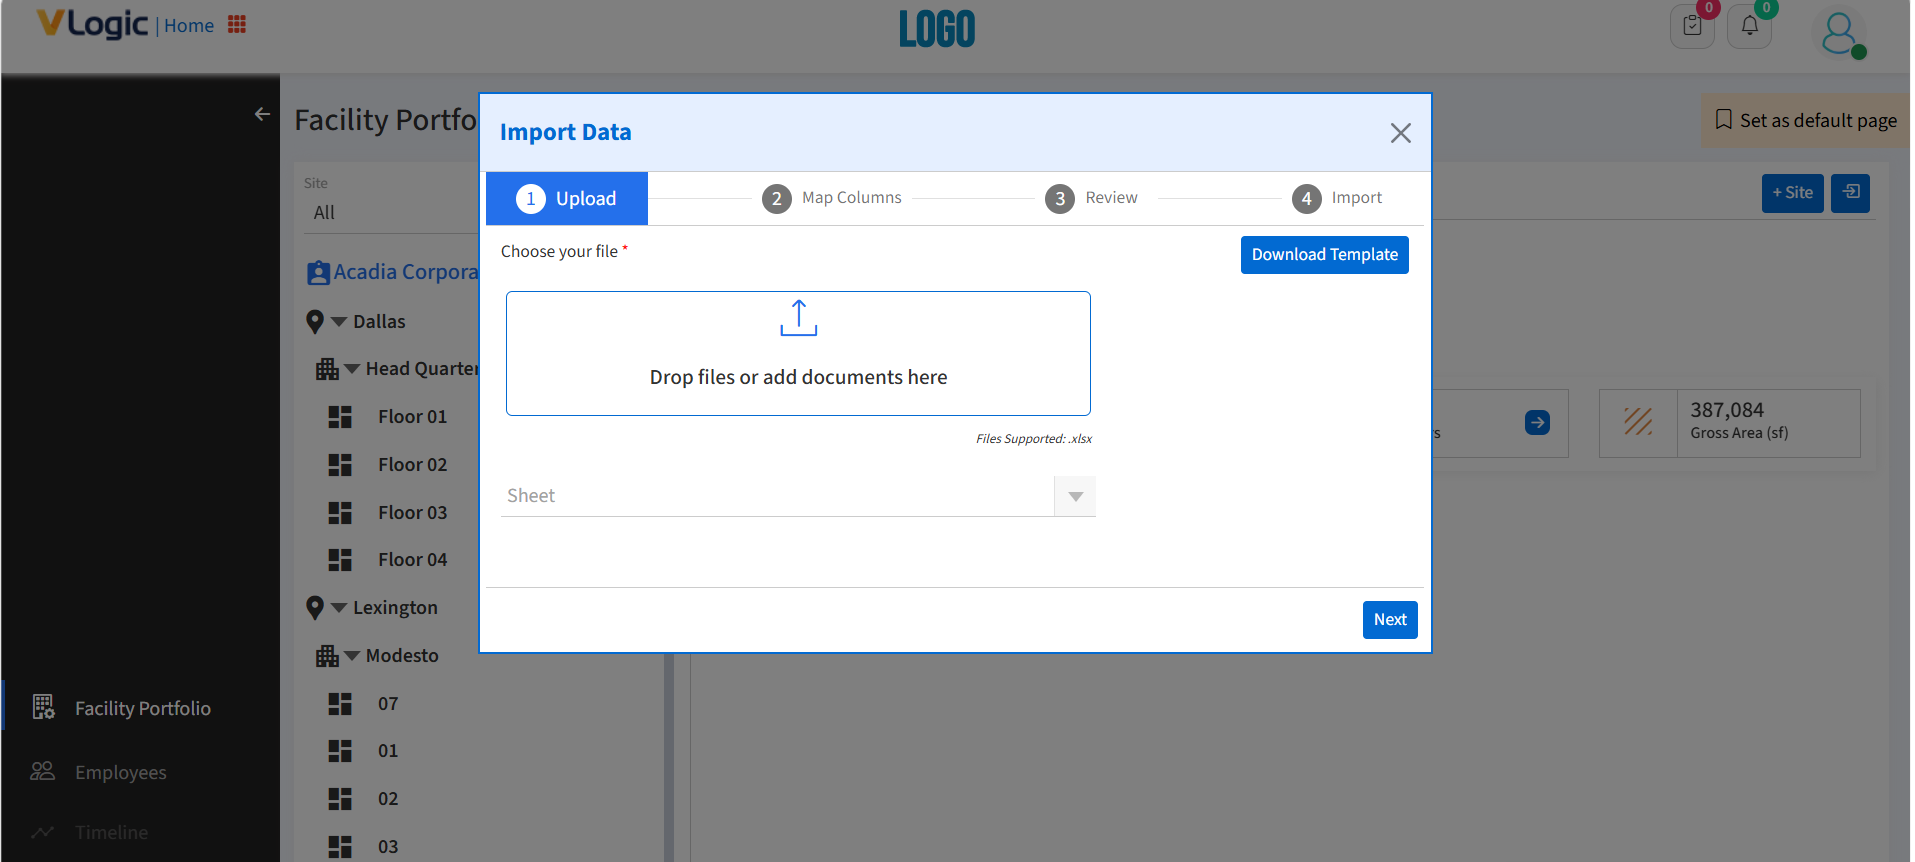
2. The “Import Data” page is designed to allow users to seamlessly upload and integrate external data (e.g., Excel sheets) into the system. The process is divided into four clear steps for accuracy and ease of use:
1, Upload
2. Map Columns
3. Review
4. Import
This stepwise process helps ensure accuracy and prevents incorrect data entry.
Step 1: Upload
1. Download Template: Clicking the “Download Template” button allows the user to download a pre-defined Excel template to ensure that the uploaded file matches the required structure. The user can edit the required fields and save the details.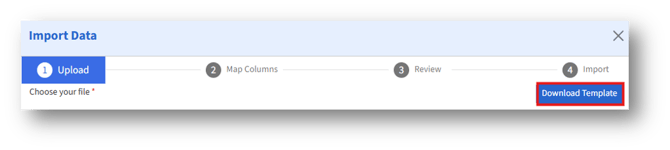
2. Choose your file*: Users can either drag and drop the edited file or click the upload area to select a document from their computer.
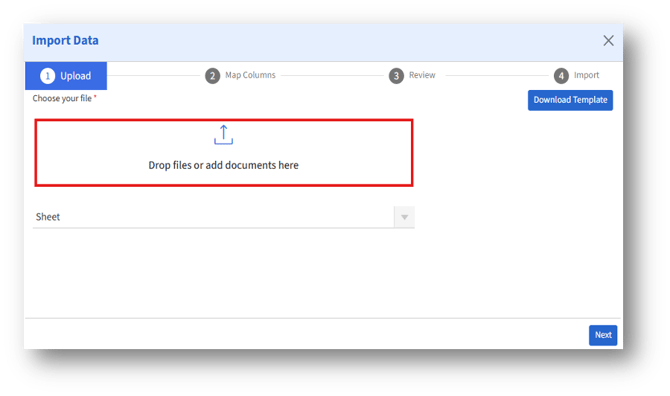
3. Sheet Selection: Once the file is uploaded, the system automatically selects the file type.
4. Next Button: After selecting the file and sheet, clicking the “Next” button advances the user to “Map Columns” page.
Step 2: Map Columns:
1. “Columns Mapping” section displays two columns for mapping: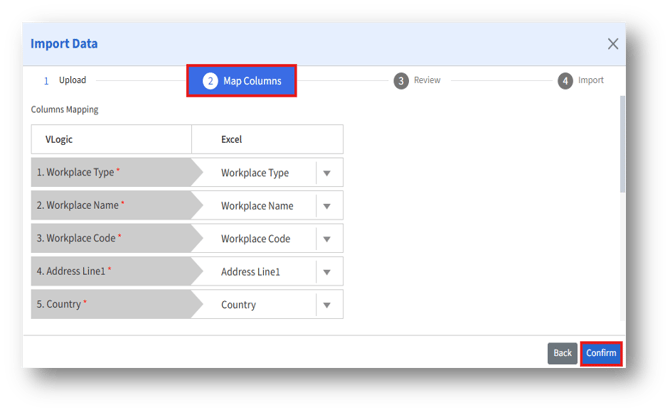
1a. VLogic (System Fields): These are the required fields within the application. Fields marked with a red asterisk (*) are mandatory.
1b. Excel (Uploaded File Fields): Dropdowns allow the user to map each system field to the correct column in the uploaded file.
2. Back Button: Lets the user go back to the Upload step to make changes.
3. Confirm Button: Upon confirming, the “Next” button appears.
4. Next Button: Proceeds to the “Review” step after confirming mappings.

Step 3: Review
1. User can review the mapped data before final import.
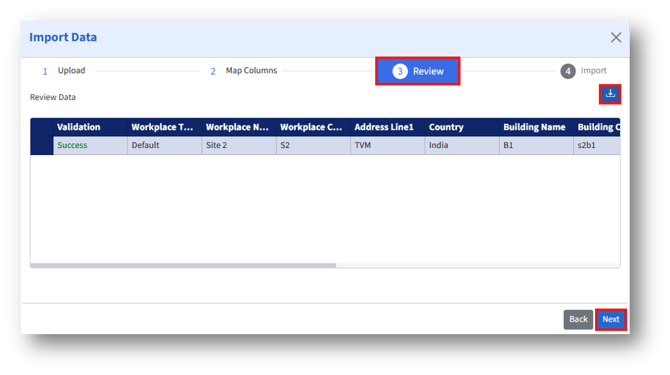
2. Validation through Mapping: If there are any errors, validation error will appear. This step ensures that imported data aligns correctly with system requirements, reducing chances of errors.
3. Validation checks highlights missing mandatory values or formatting issues.
4. Download option allows the user to download the file and cross check the uploaded data.
5. A preview of records is displayed, showing how data will look once imported.
6. Upon confirming, click the “Next” button.
Step 4: Import
1. Once reviewed, the data is imported into the system.
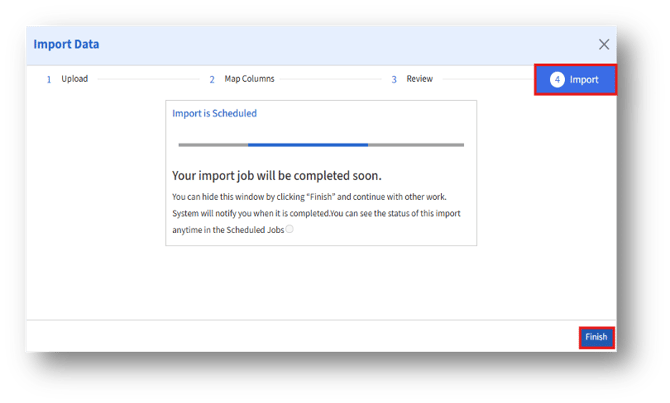
2. Error logs (if any) are provided for records that failed import, allowing users to correct and retry.
3. Click the “Finish” button to close the window.
4. The imported information will be displayed under the “My Scheduled Tasks” tab.